How Actions Work
When a workflow executes, actions run in sequence based on the routing you define. Each action:- Receives input — Data from the request or previous action results
- Executes its operation — Fetches data, calls an API, transforms values, etc.
- Stores its result — Output is saved and accessible to subsequent steps
- Routes to the next step — Either
next(on success) orfail(on error)
{{ .action_id }} syntax. For example, if an action with ID get_user returns user data, access the email field with {{ .get_user.email }}.
Creating Actions in the Dashboard
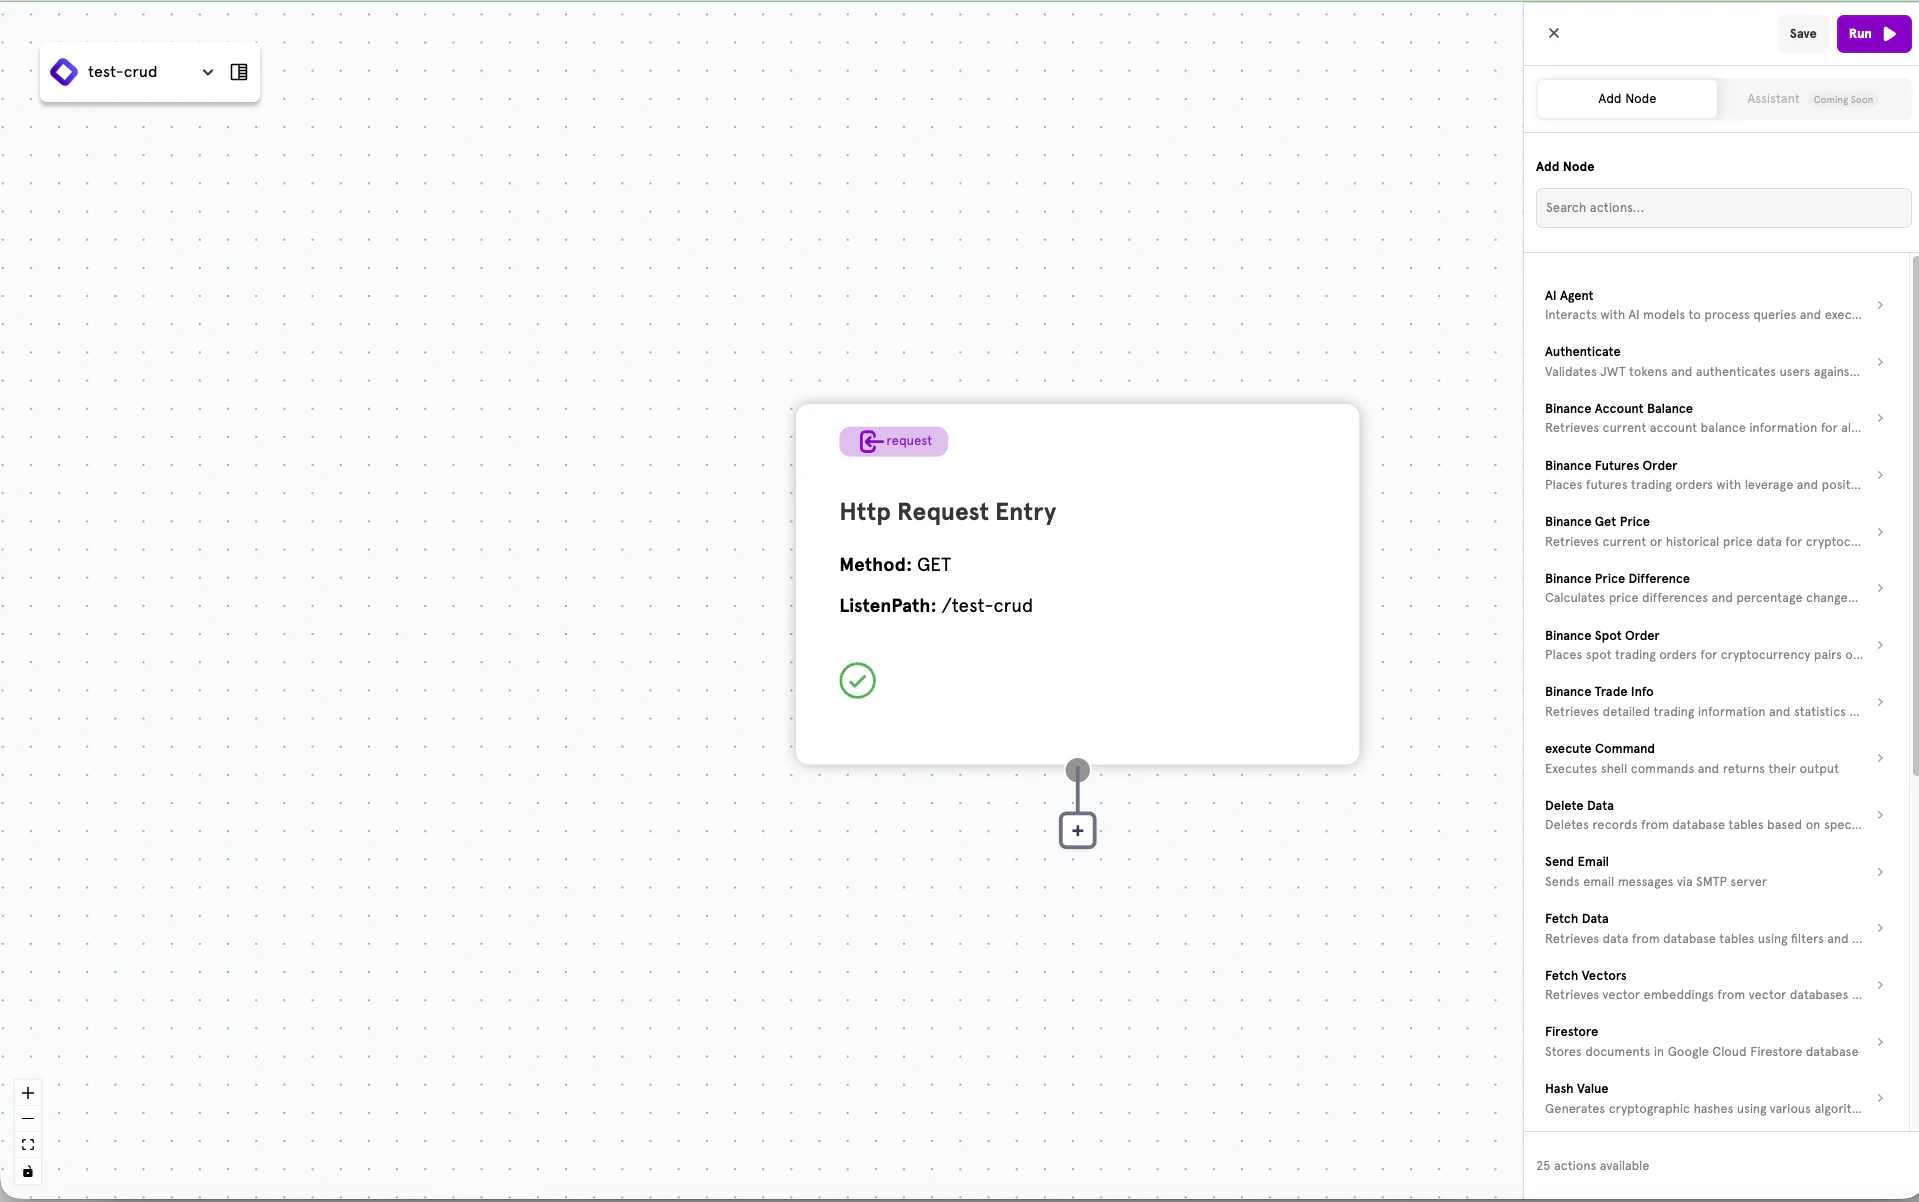
The ServFlow dashboard provides a visual interface for adding and configuring actions.Adding an Action
- Click the + button below an existing node in the workflow canvas
- Select Actions from the node type options
- Browse the available actions in the sidebar and select one
Configuring an Action
Selecting an action opens the configuration panel on the left side of the screen. Each action type has specific fields to configure.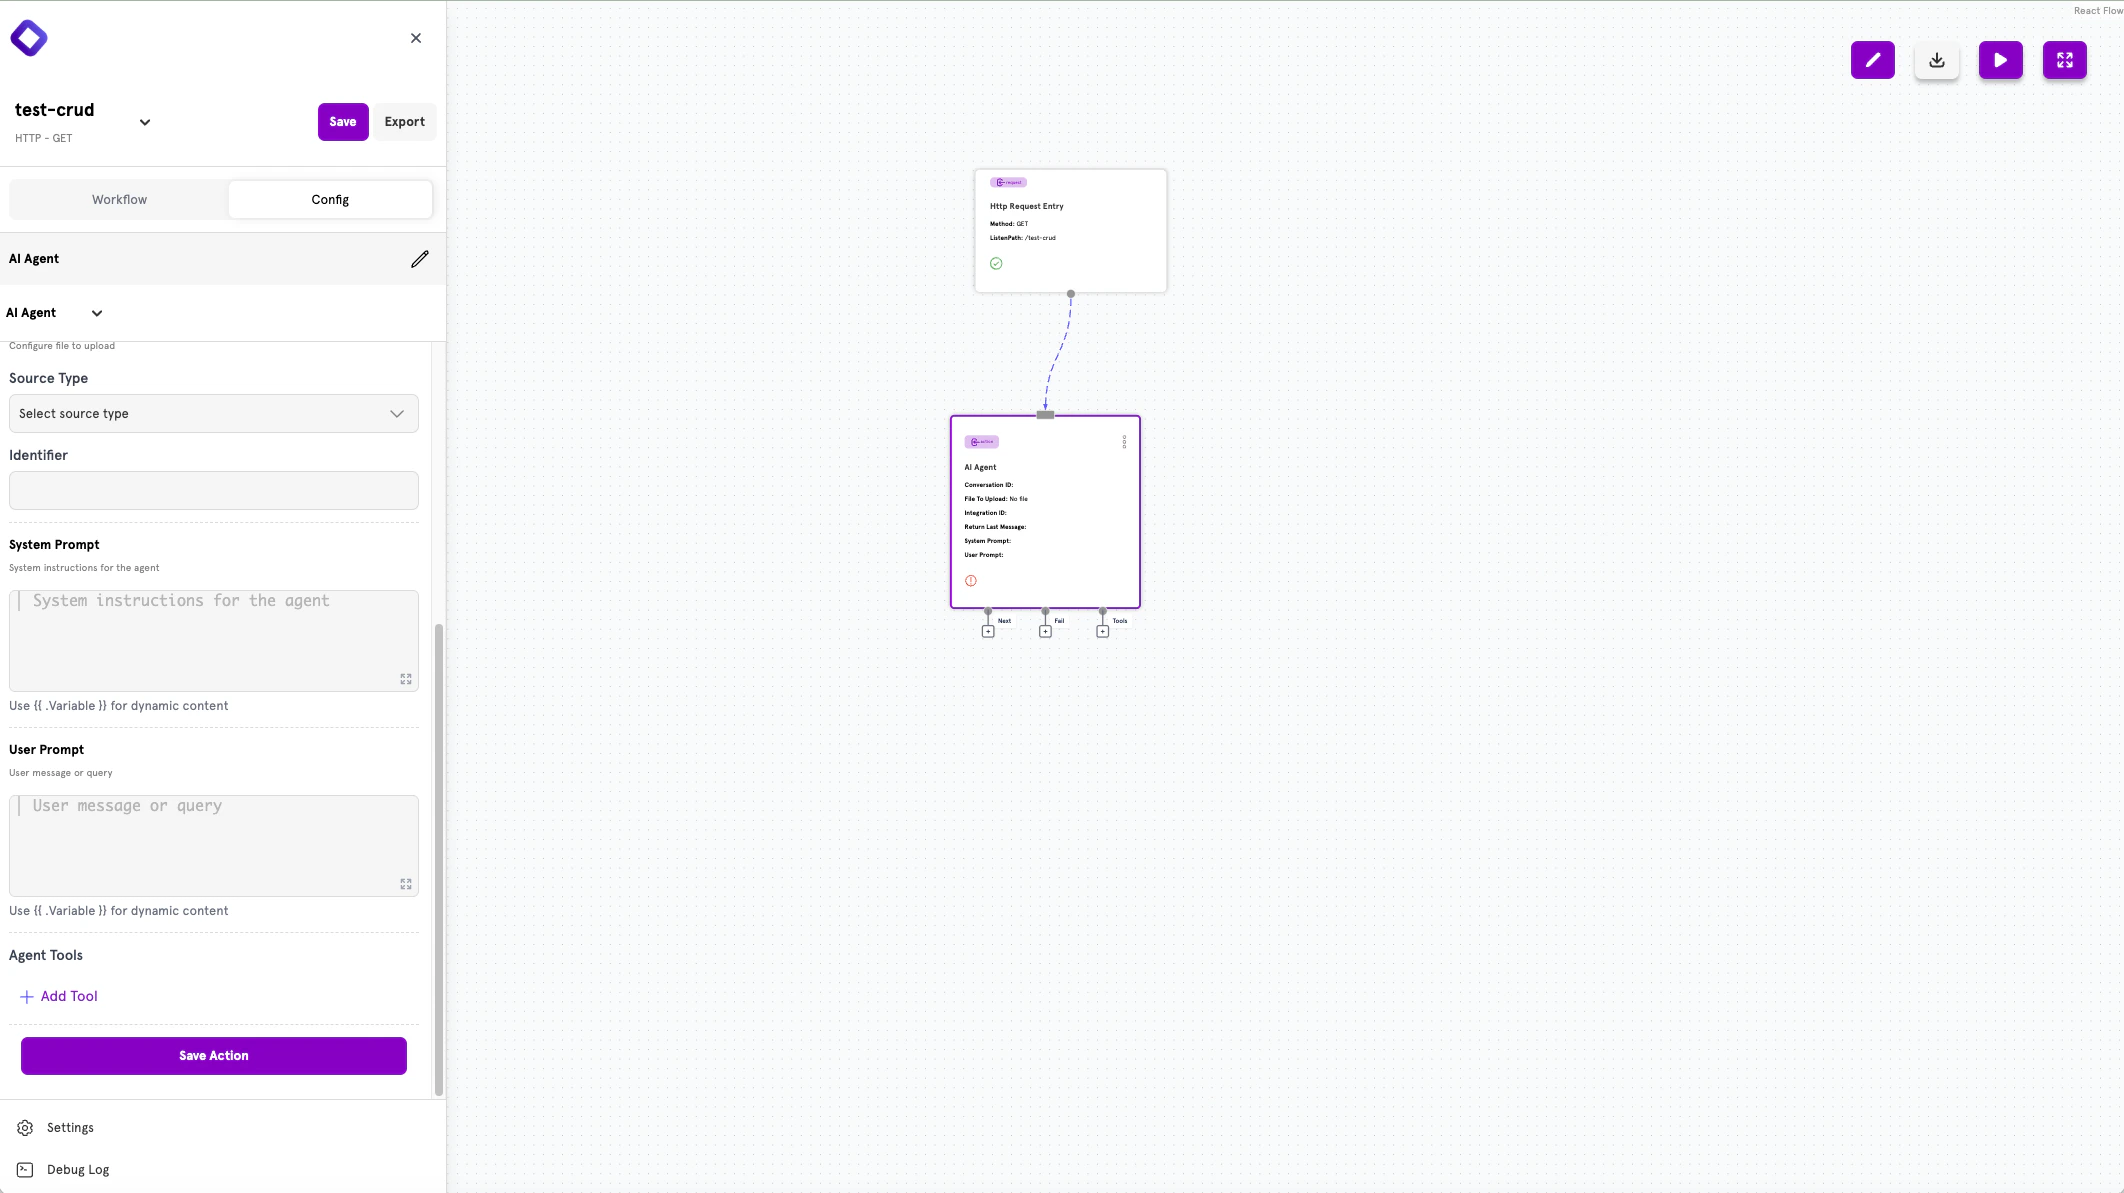
Action Outputs
Actions have output handles for defining the flow:- Next — Routes on successful completion
- Fail — Routes when an error occurs
- Tools — Additional outputs for specific action types (e.g., AI Agent tools)
Creating Actions in YAML
Actions can also be defined in YAML configuration files. This approach is preferred for version control, CI/CD pipelines, and production deployments in Headless Mode.Action Structure
Every action follows this structure:Common Fields
| Field | Type | Required | Description |
|---|---|---|---|
type | string | Yes | The action type identifier (e.g., fetch, http, agent) |
config | object | No | Type-specific configuration options |
next | string | No | Step to execute on success |
fail | string | No | Step to execute on failure |
Chaining Actions
Use thenext and fail fields to define execution paths. The routing syntax follows the pattern type.identifier:
action.other_action— Route to another actionconditional.check_value— Route to a conditional branchresponse.success— Route to a response
Next Steps
Available Actions
Browse all available action types by category.
Conditionals
Add branching logic to your workflows.
Responses
Define how your workflow returns data.
Dynamic Content
Use templates to reference dynamic values.