

Before you begin
- An agent with at least one sub-agent and a provider. See Create an agent.
- The check at the end runs the agent twice. Your model company bills you for those runs.
Create a workspace
1
Open the Workspaces page
In the sidebar under Configure, open Workspaces.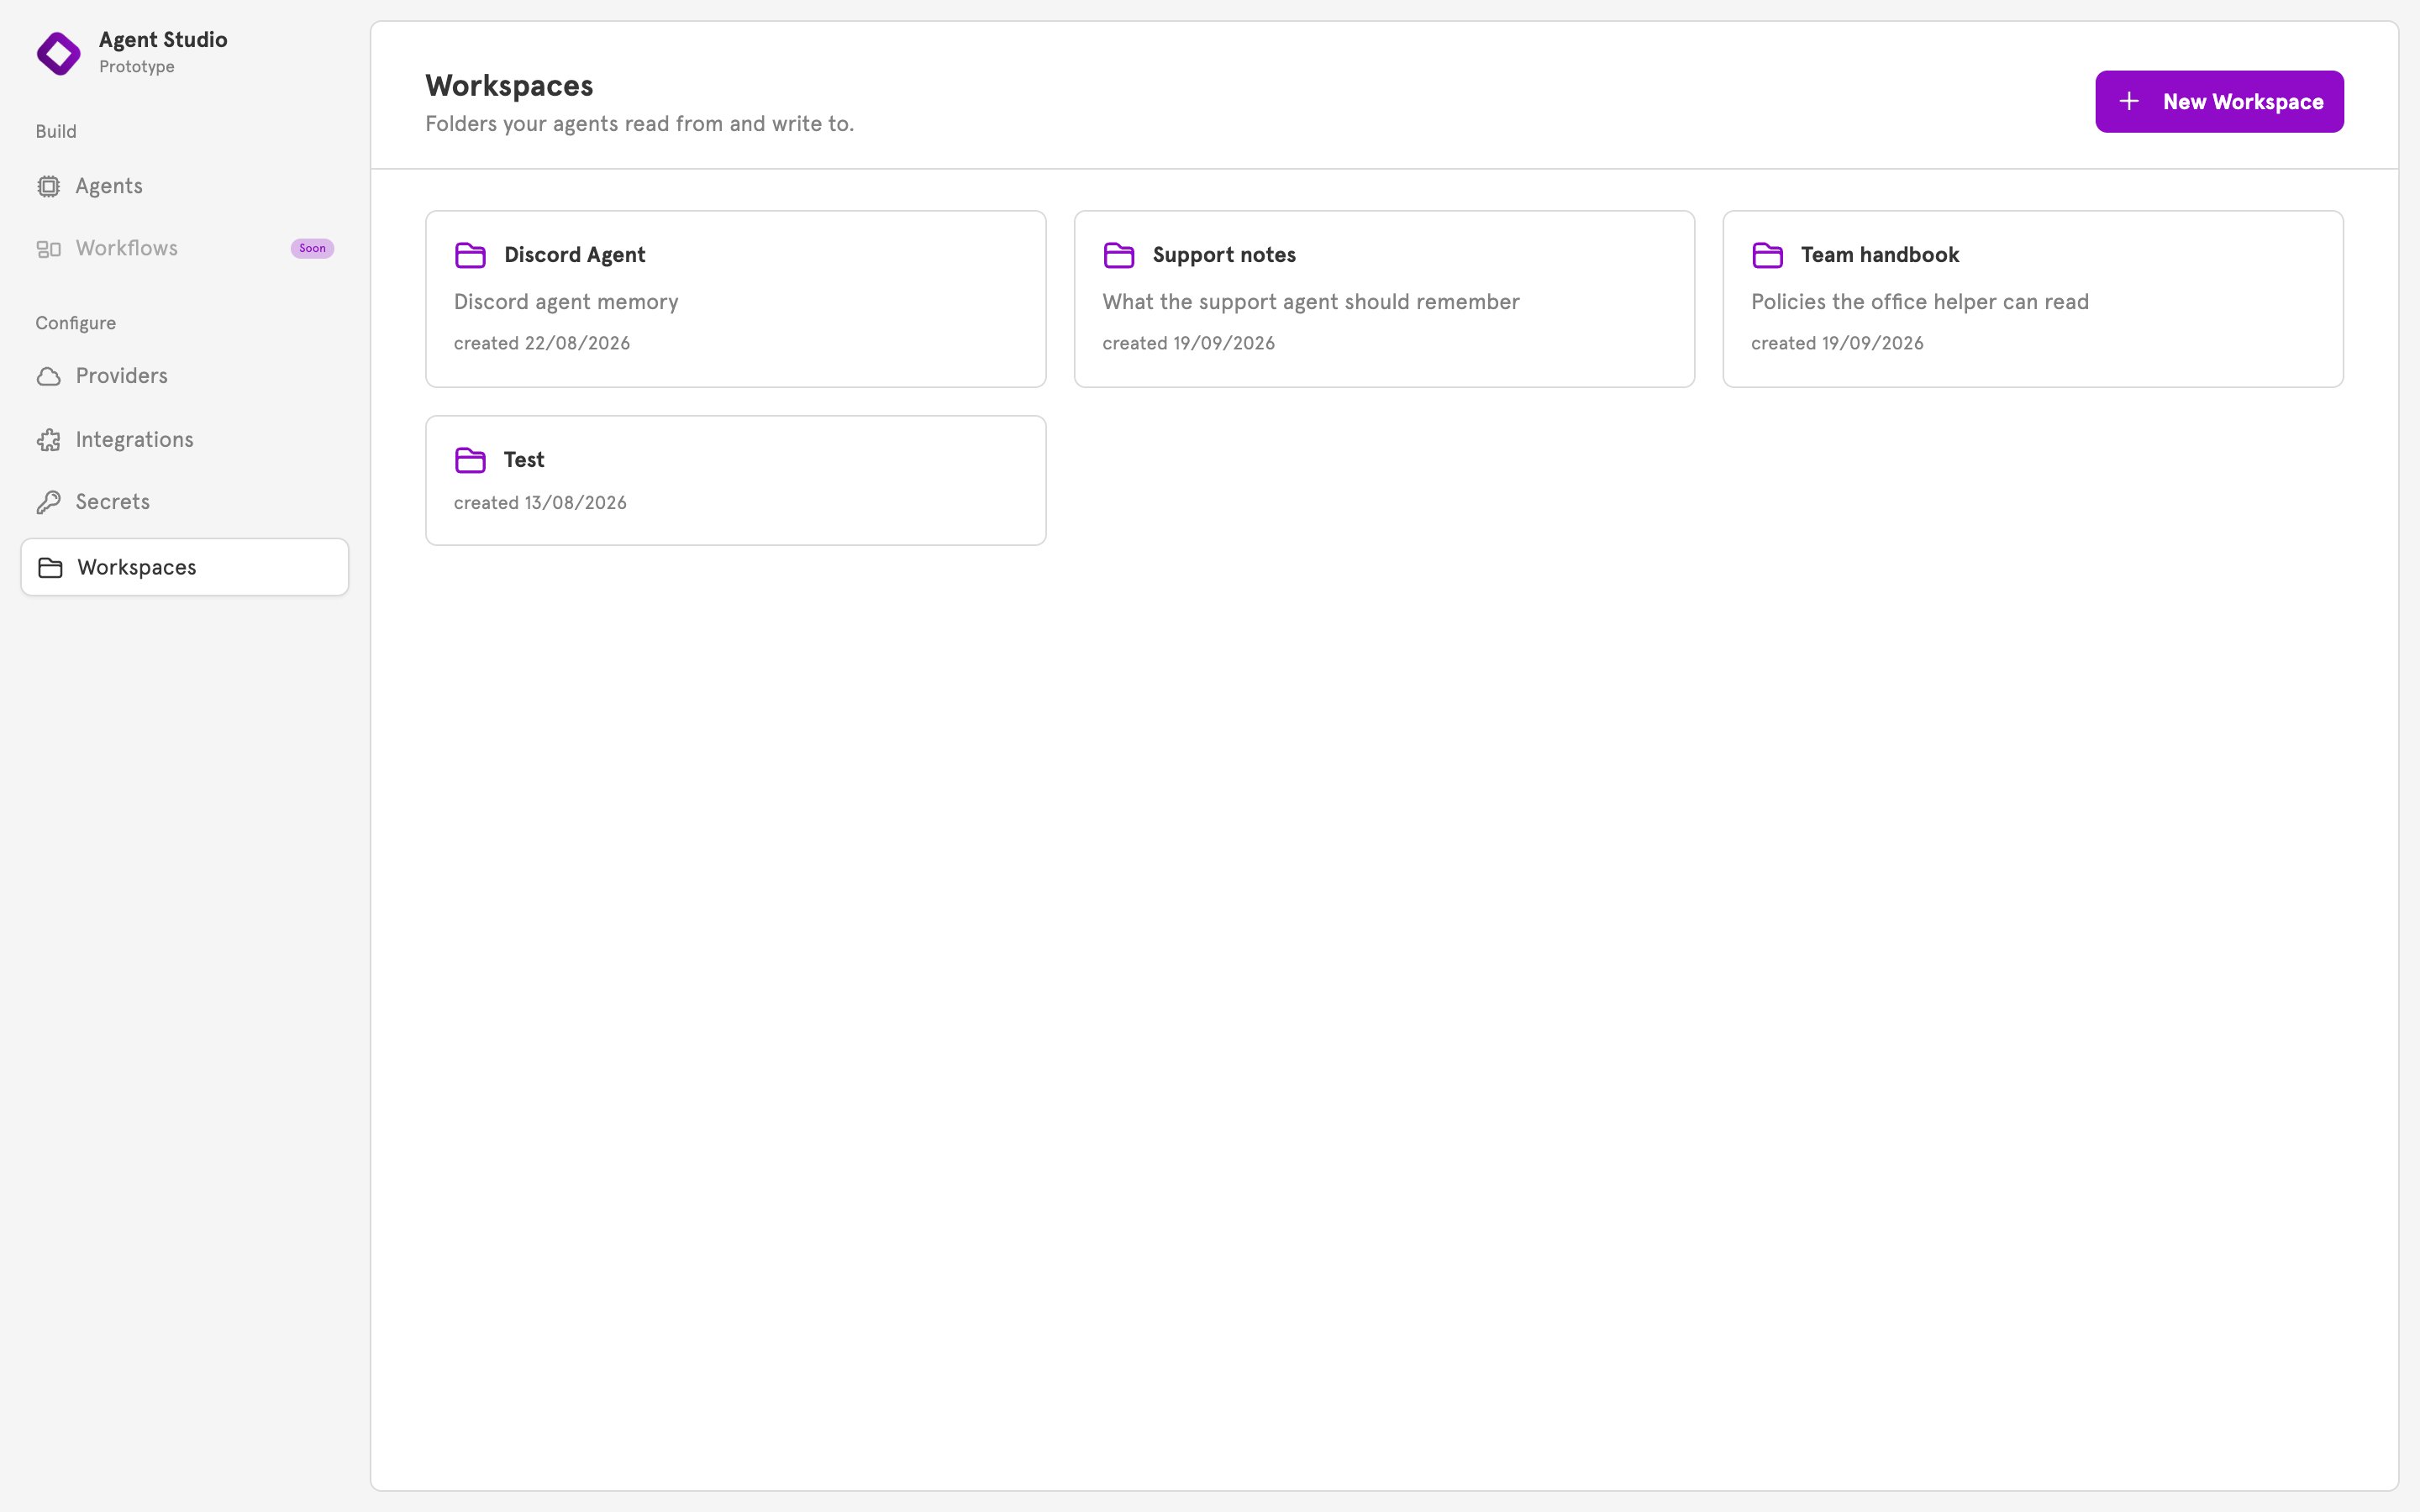
2
Click New Workspace
Click New Workspace. The New Workspace dialog opens.
3
Name the workspace
Enter a Name, such as 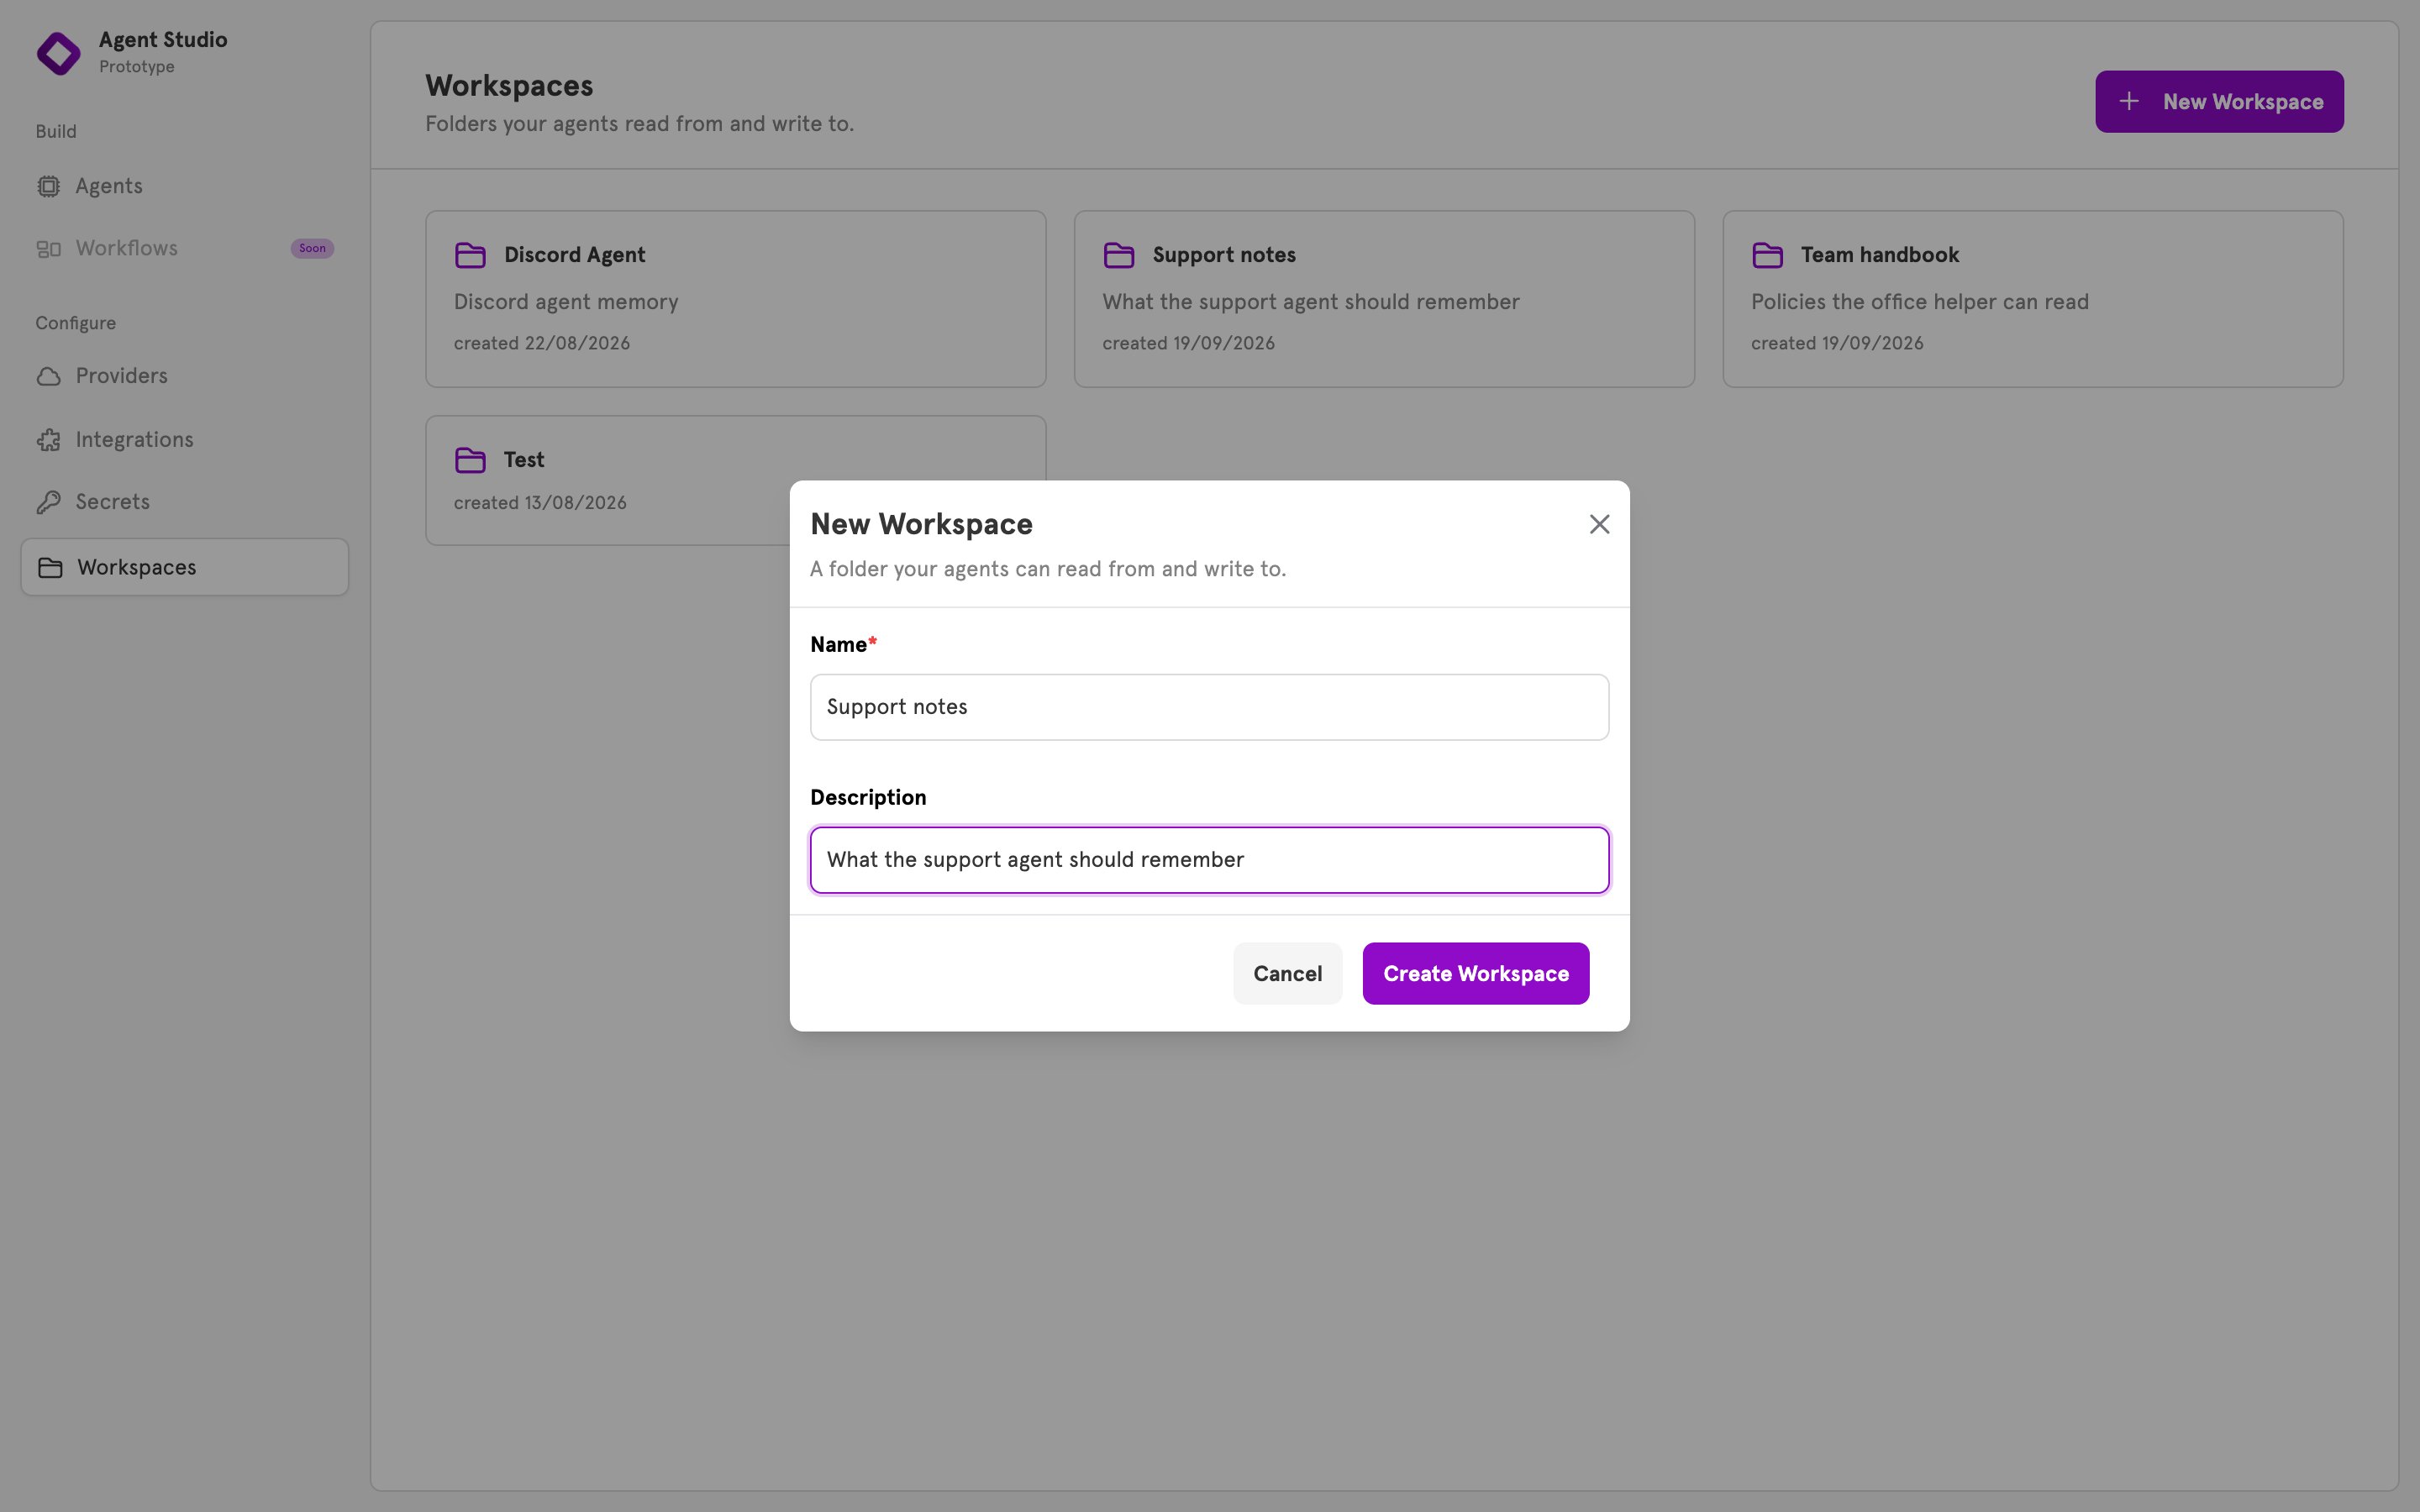
Support notes, and a Description. Click Create Workspace. The workspace appears in the list.Add your own files
1
Open the workspace
Optional: to give the agent documents to work from, click the workspace in the list. A new workspace reads “No files yet”.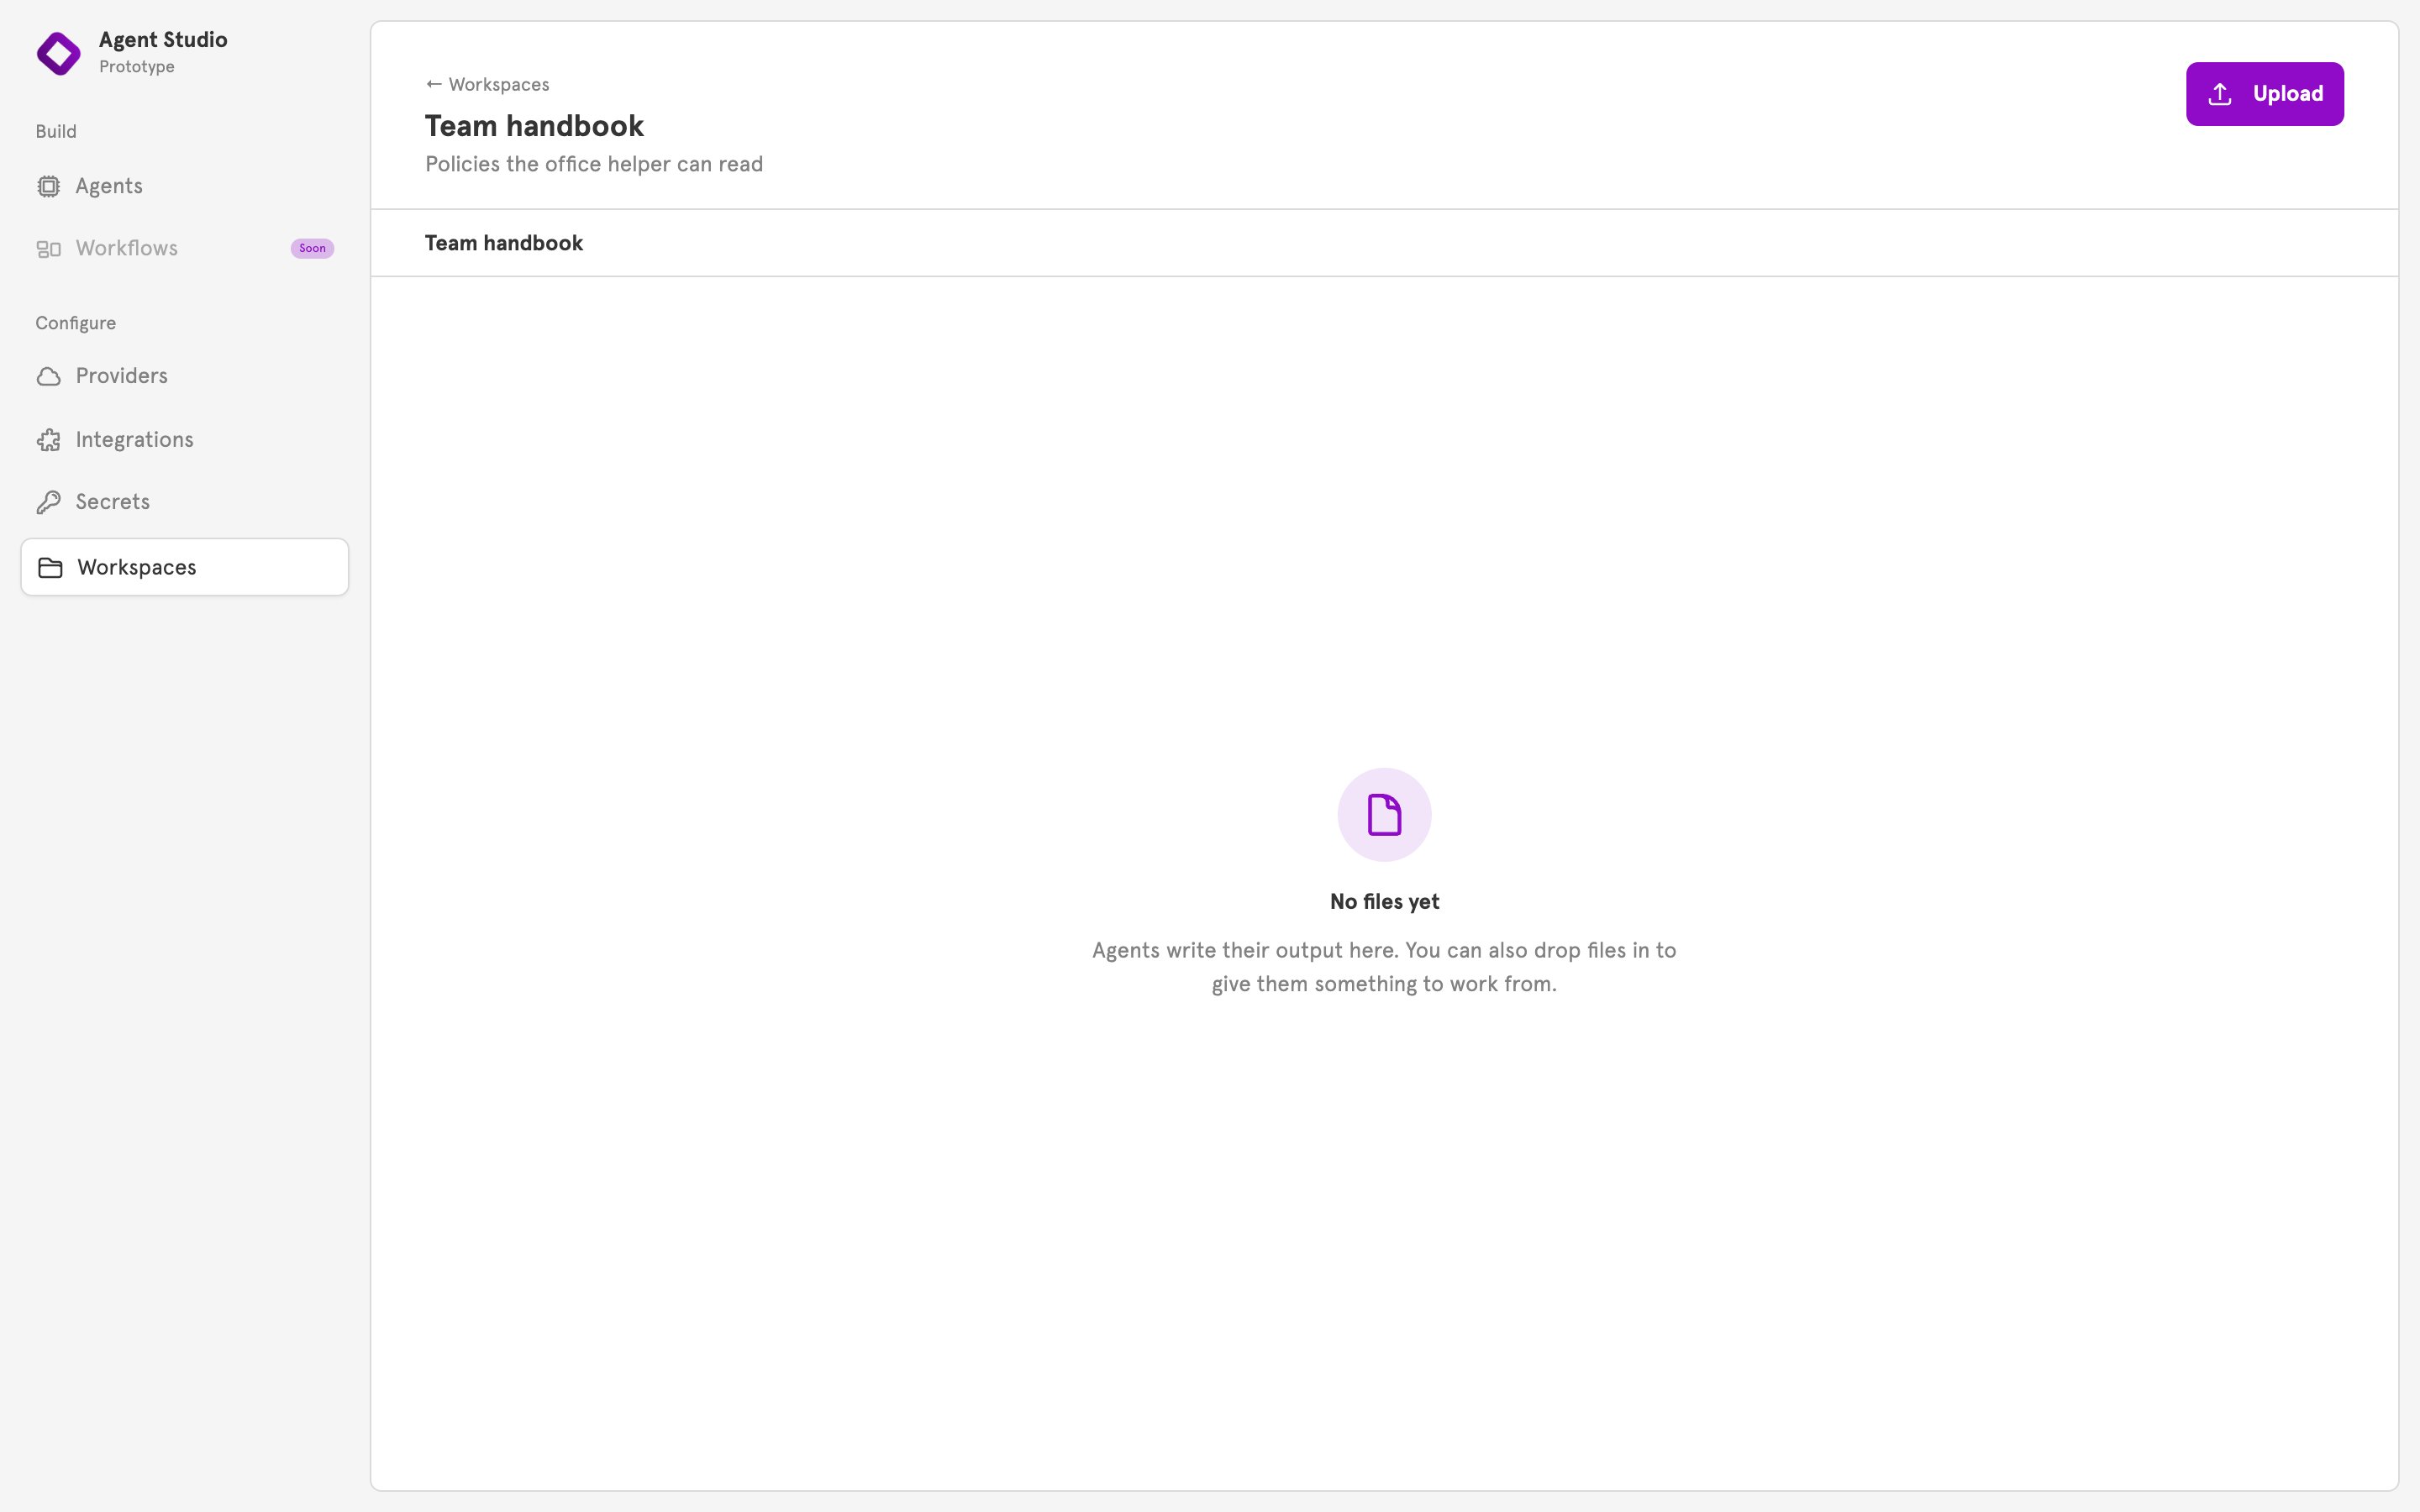
2
Upload files
Click Upload, or drop files anywhere on the page. The files appear in the list.
.md, .txt, .csv, and .json. It cannot read pictures, PDFs, or other files that are not text.
Give the workspace to a sub-agent
1
Open the sub-agent
Open your agent and click the sub-agent on the canvas. Its panel opens.
2
Choose the workspace
Scroll to Memory. Under Workspace, choose your workspace. The section’s summary changes from “No memory” to the workspace’s name.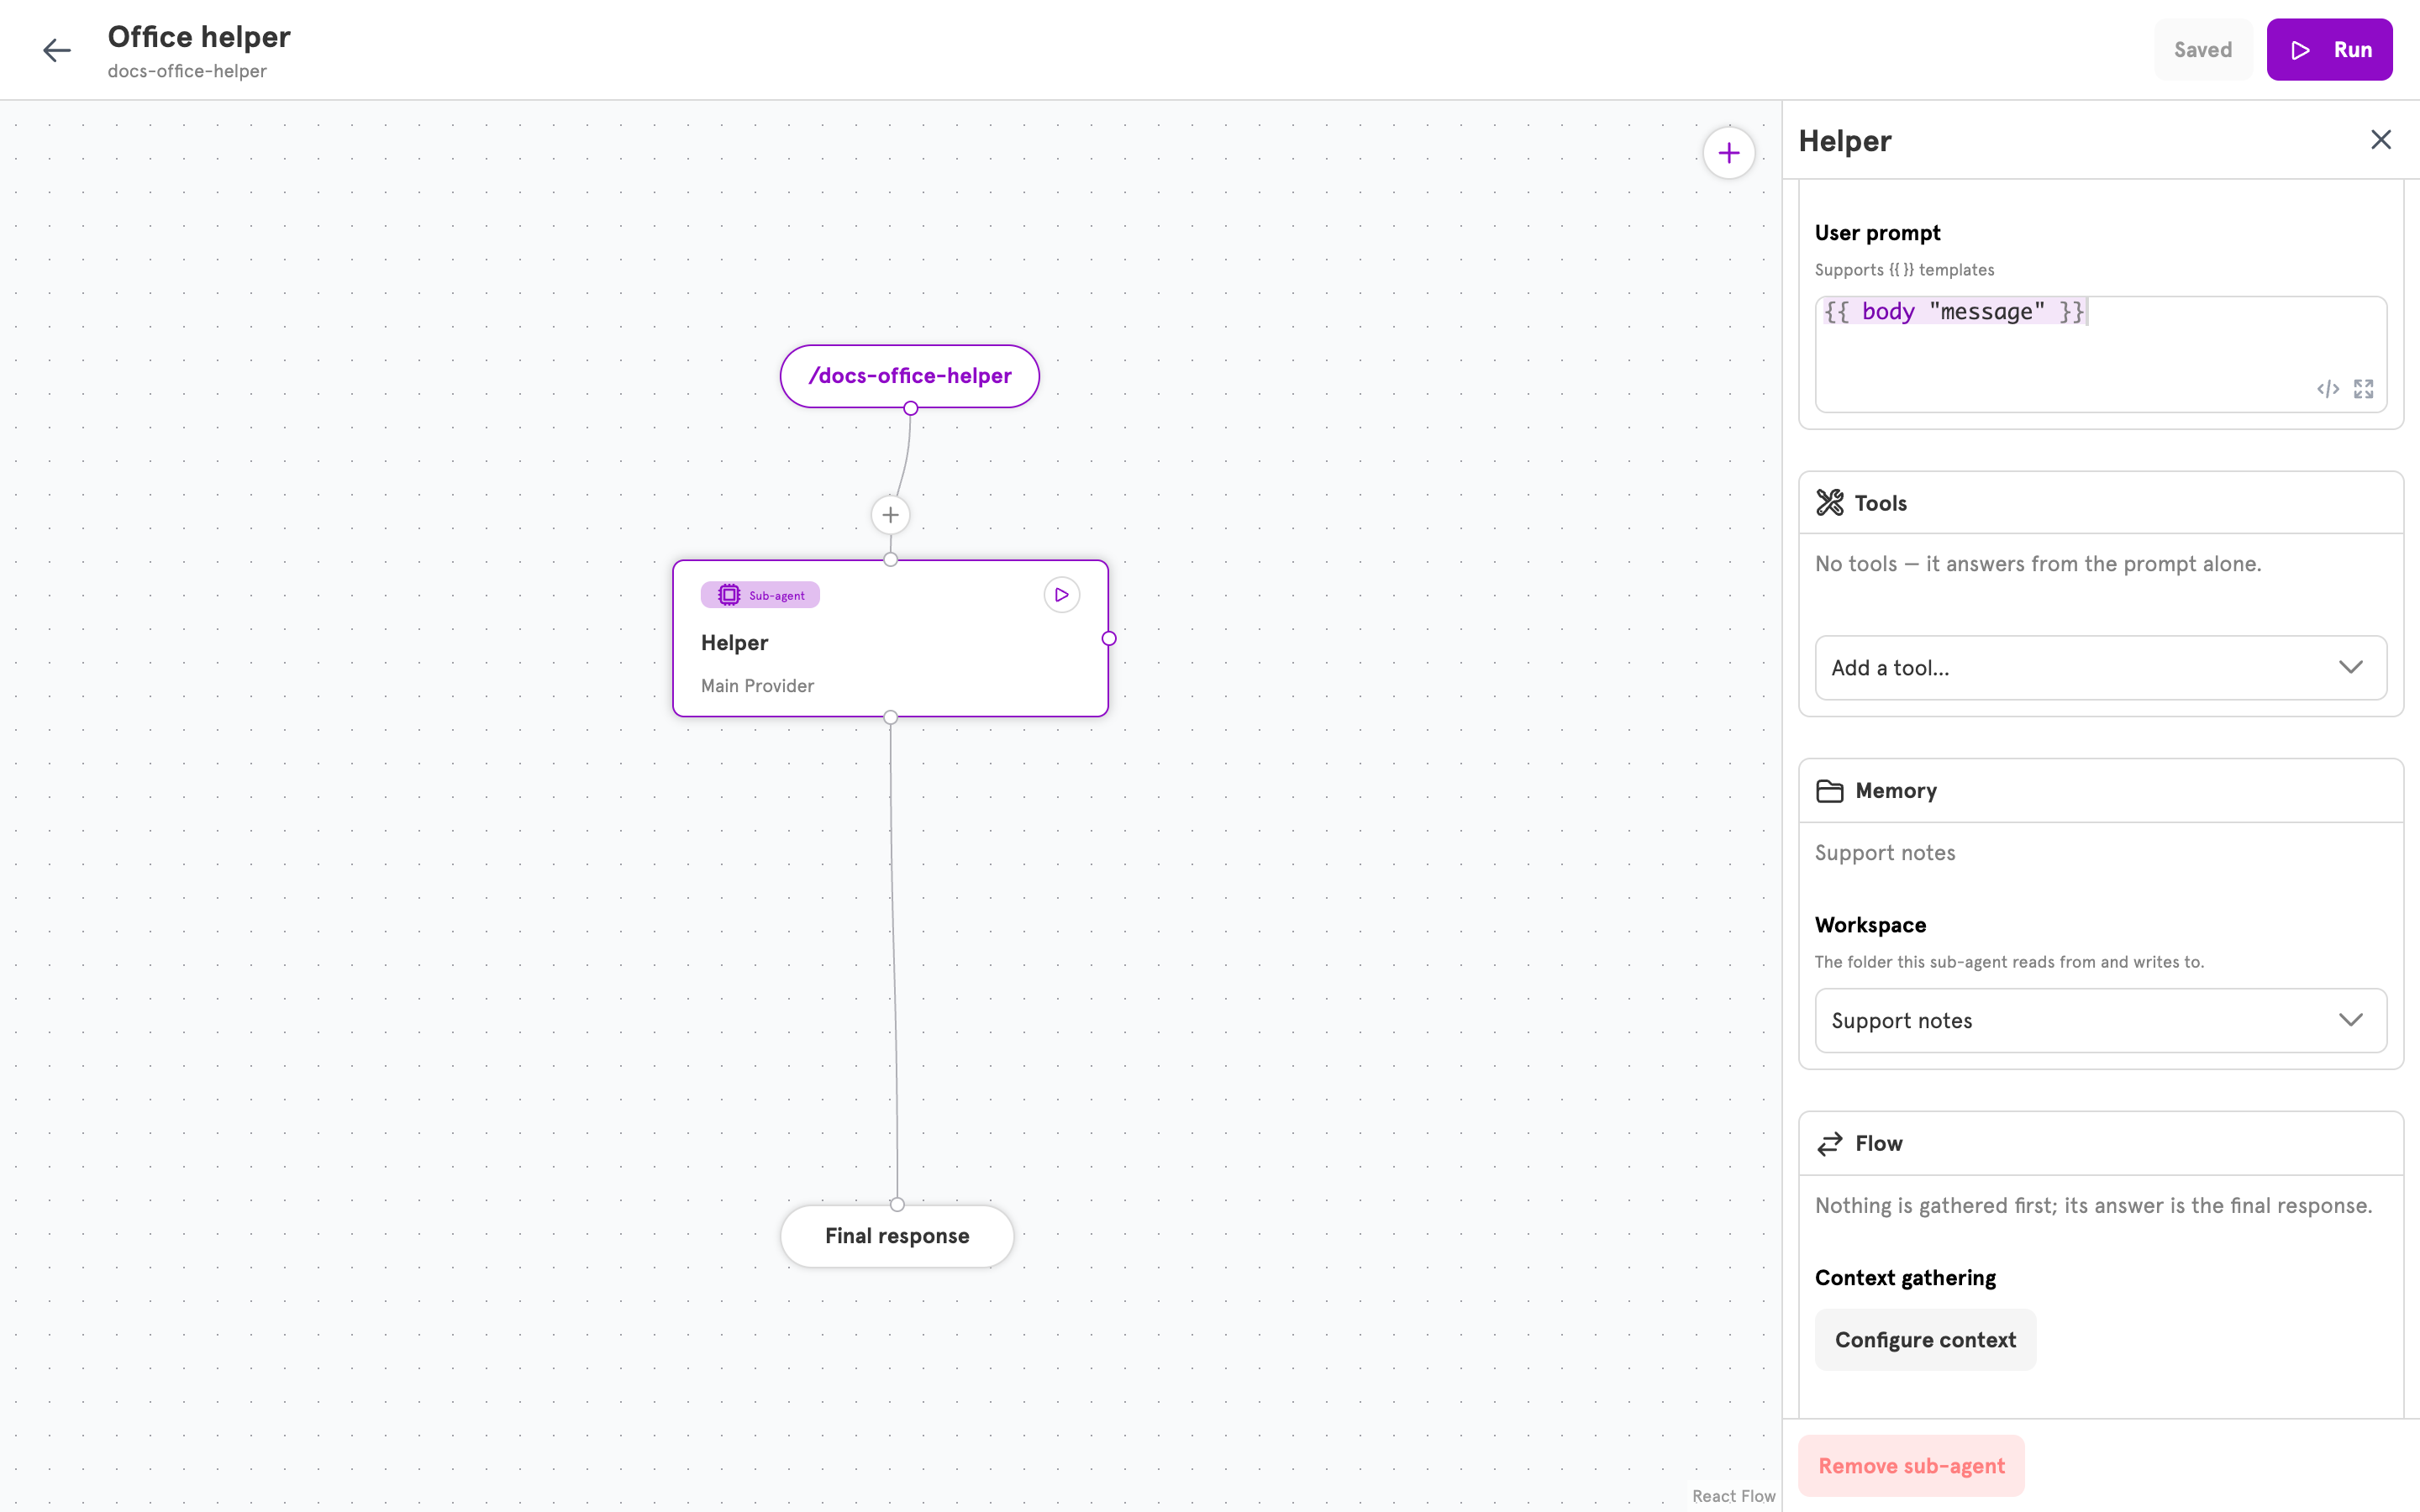
Tell the agent how to use the workspace
The agent now has the ability, but it needs the instruction. Without one, it answers from the message alone and leaves the files untouched.1
Add instructions to the system prompt
In the sub-agent’s System prompt, say which file to use and when:The last line asks for the whole file because writing a file replaces what was in it.
2
Save
Click Save in the top bar.
Verify
1
Ask the agent to remember something
Click Run, enter a request that fits your agent’s prompt, and click Run. For an agent that reads The Log in the Run panel shows “attempting to execute tool” and “successfully executed tool” twice, once for reading the notes and once for saving them, and the agent confirms.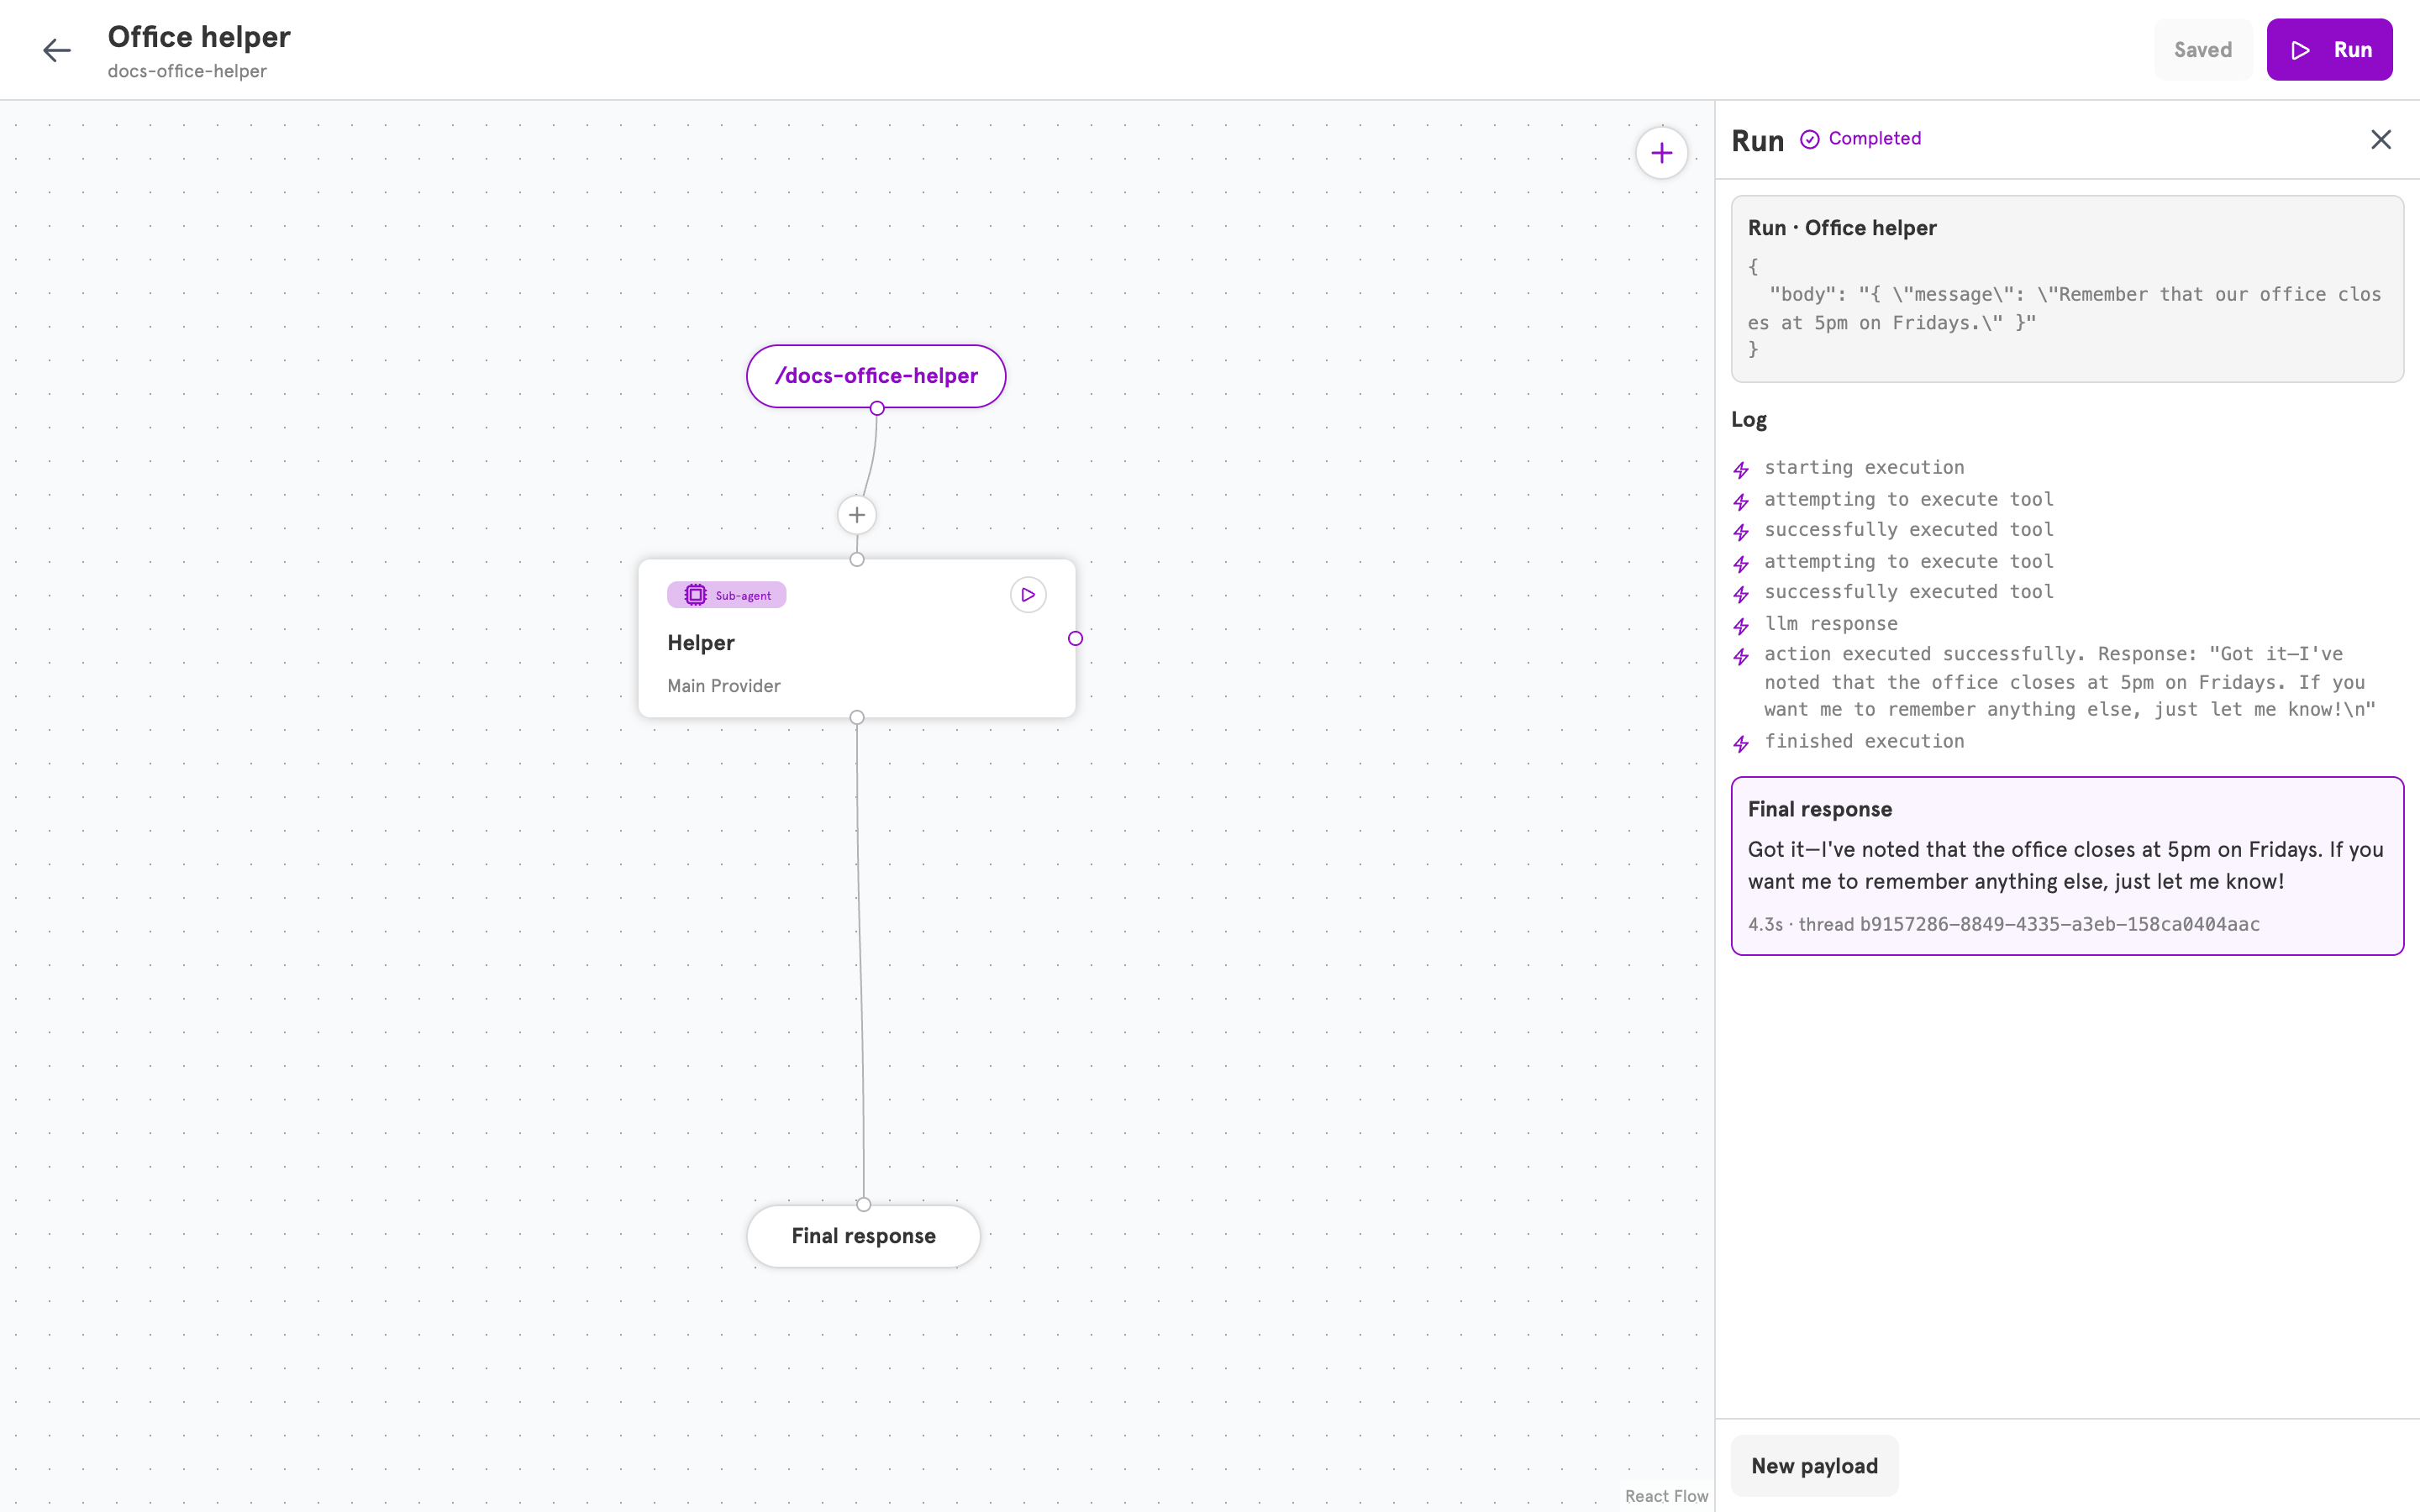
{{ body "message" }}:2
Read the note in the dashboard
Open Workspaces and open your workspace. 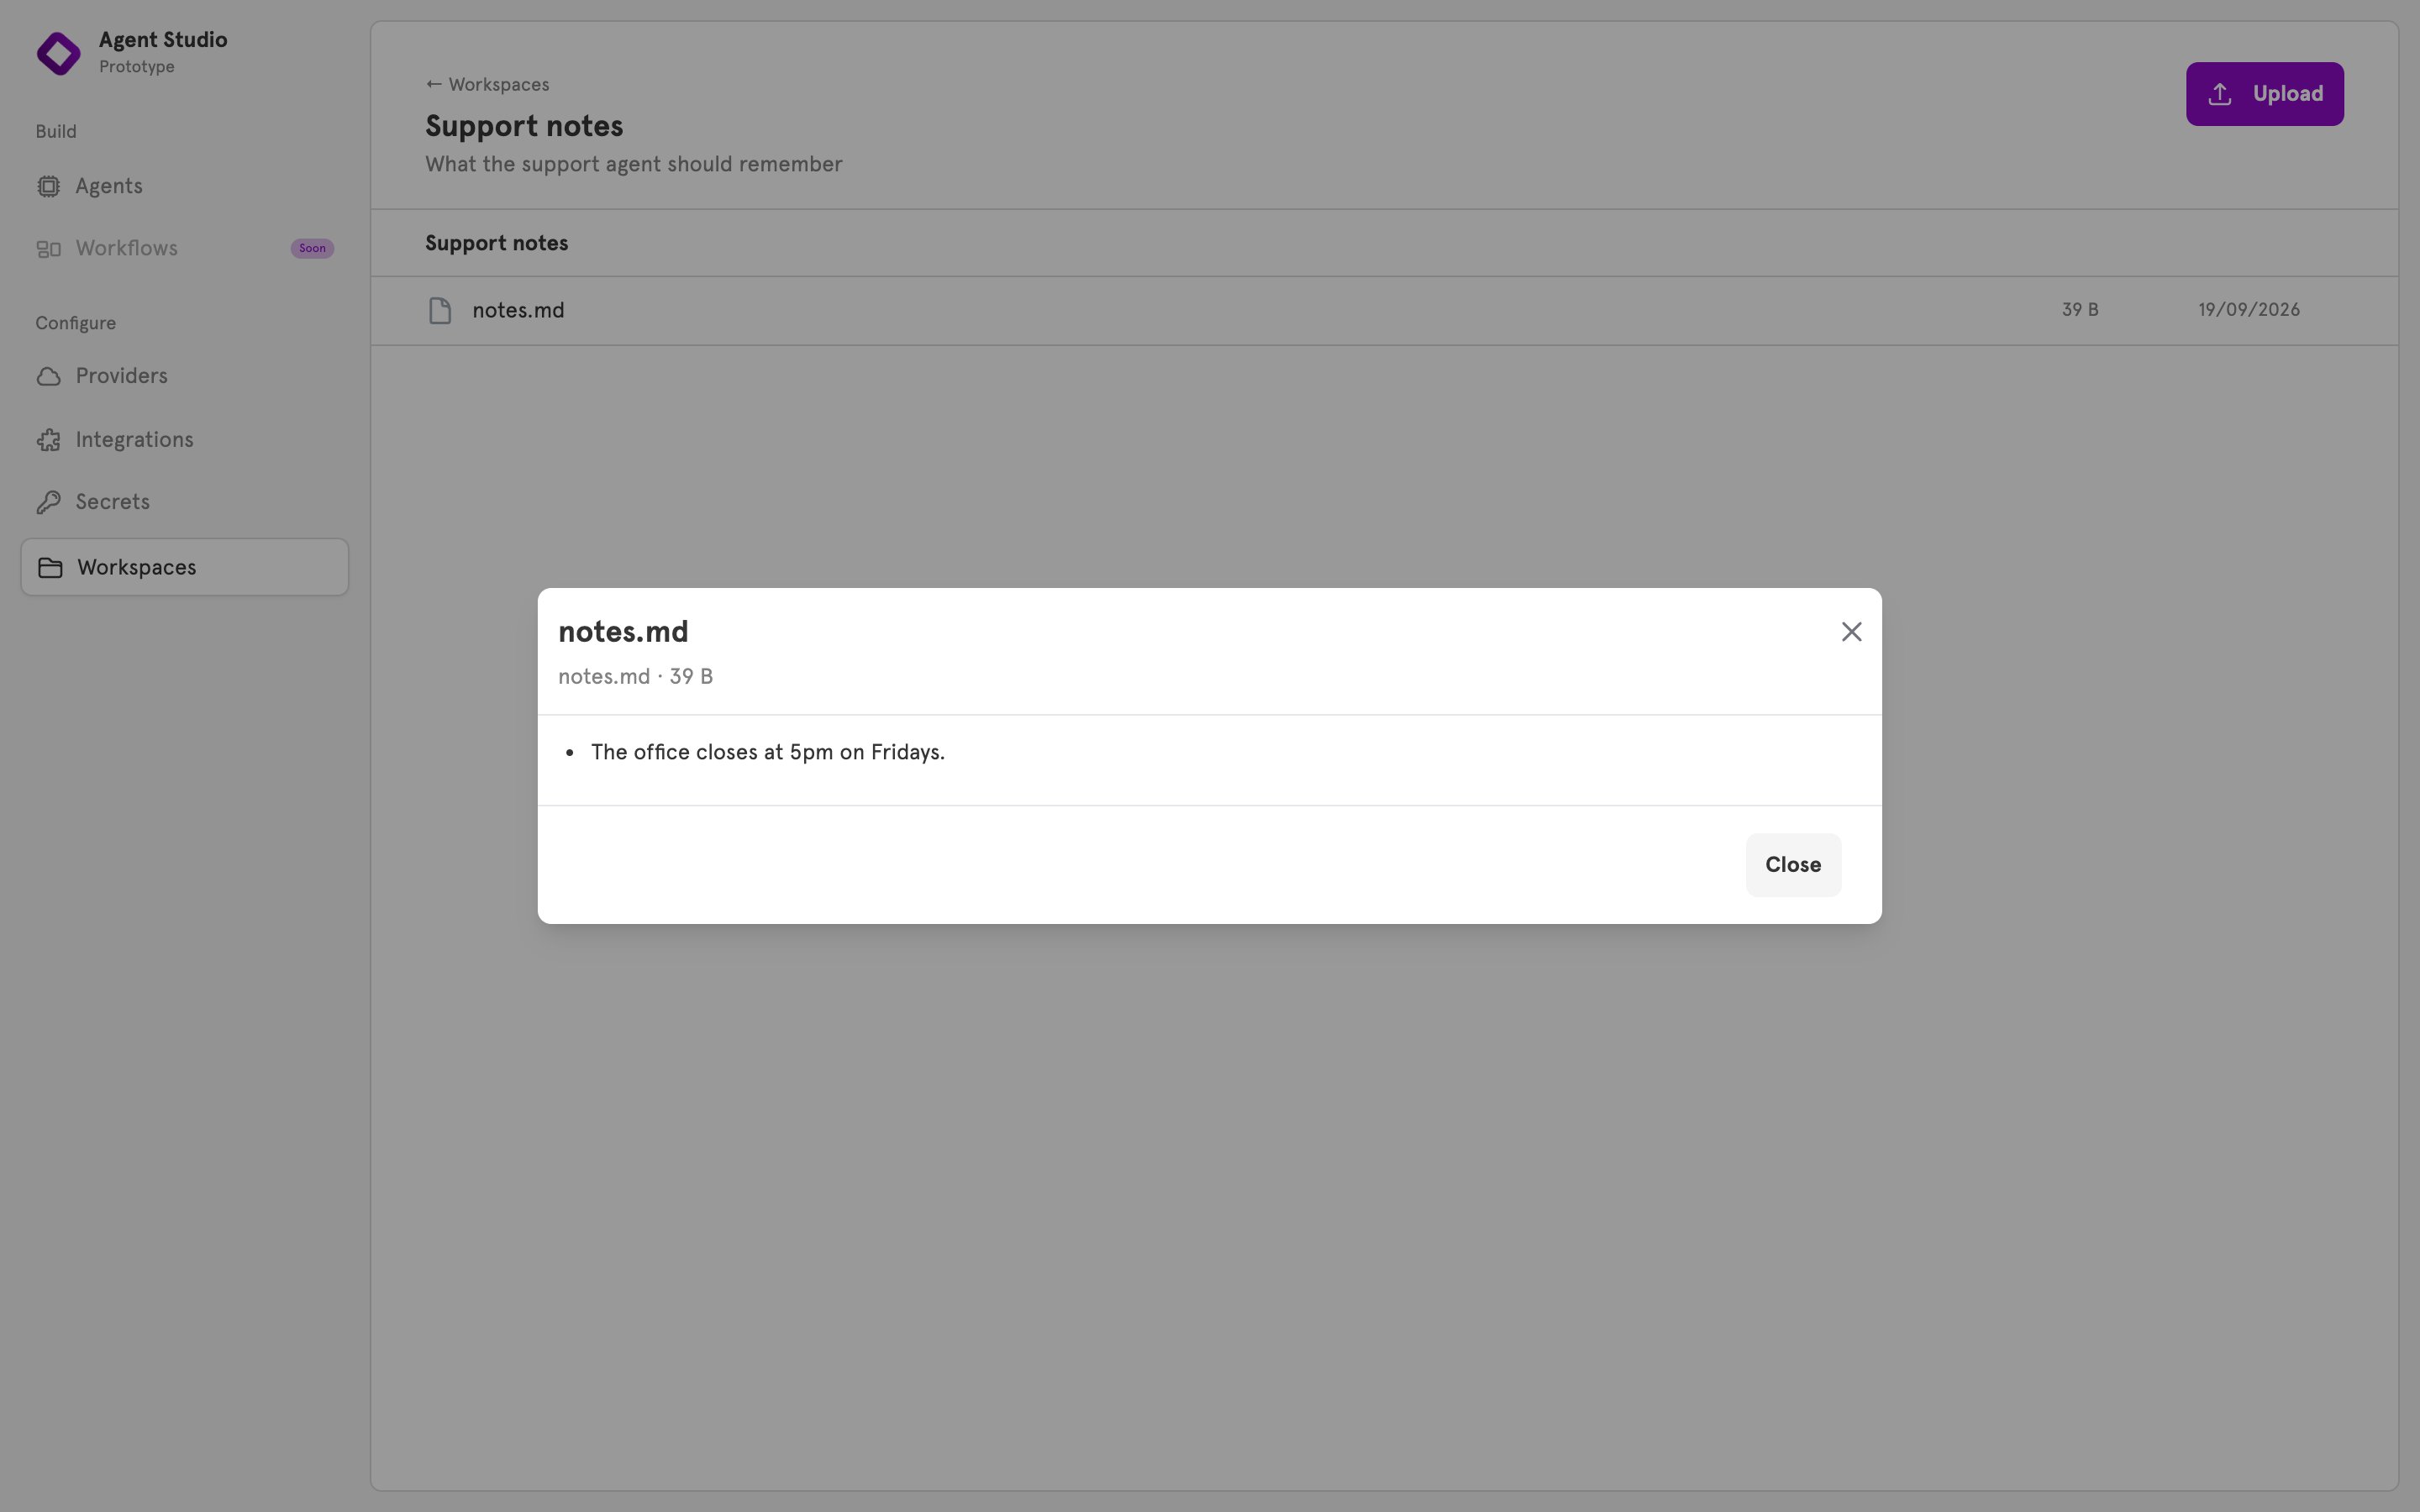
notes.md is in the list. Click it to read it.3
Ask for it back
Run the agent again with a question the note answers:The log shows one tool step, and the agent answers from the note. Each run from the editor is a new conversation, so the agent can only know this from the file.
Remove a file or a workspace
To delete a file, open the workspace, hover the file’s row, click the delete icon, and confirm. Before you delete a workspace, open every sub-agent that uses it and choose another workspace, or No memory. An agent left pointing at a deleted workspace stops loading until you do. Deleting a workspace removes it from ServFlow and leaves its files on the server’s disk.Manage workspaces from the CLI
To create a workspace from a file:Related
Workspaces and files
What a workspace is, and how it differs from the conversation an agent remembers on its own.
Entries and entry handlers
What an agent remembers within a conversation.
Guard rails
Limit what people can make your agent do.
Add a tool to an agent
Give a sub-agent other abilities.